What Is a 3D Product Render and When Do You Need One?
A 3D product render is a computer-generated image of a product, created from a digital 3D model rather than a camera. Done well, it looks like a studio photograph, but it can show any angle, colour, material or setting without a physical sample. You need one when the product is not made yet, when you sell many variants, or when you want to show something a camera cannot capture.
What a 3D product render actually is
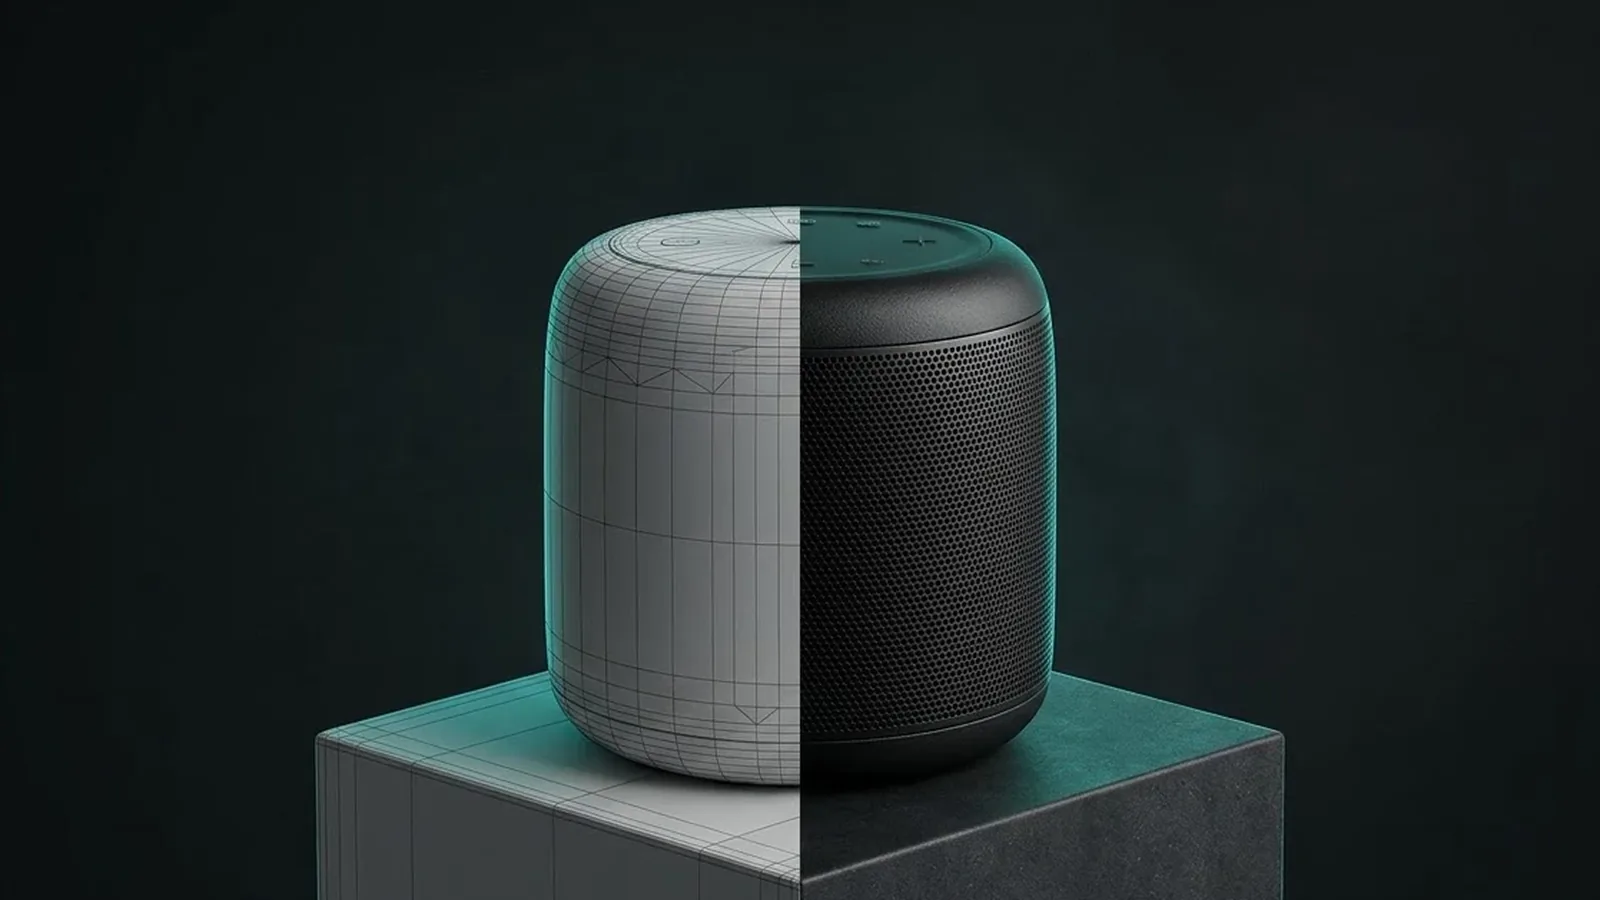
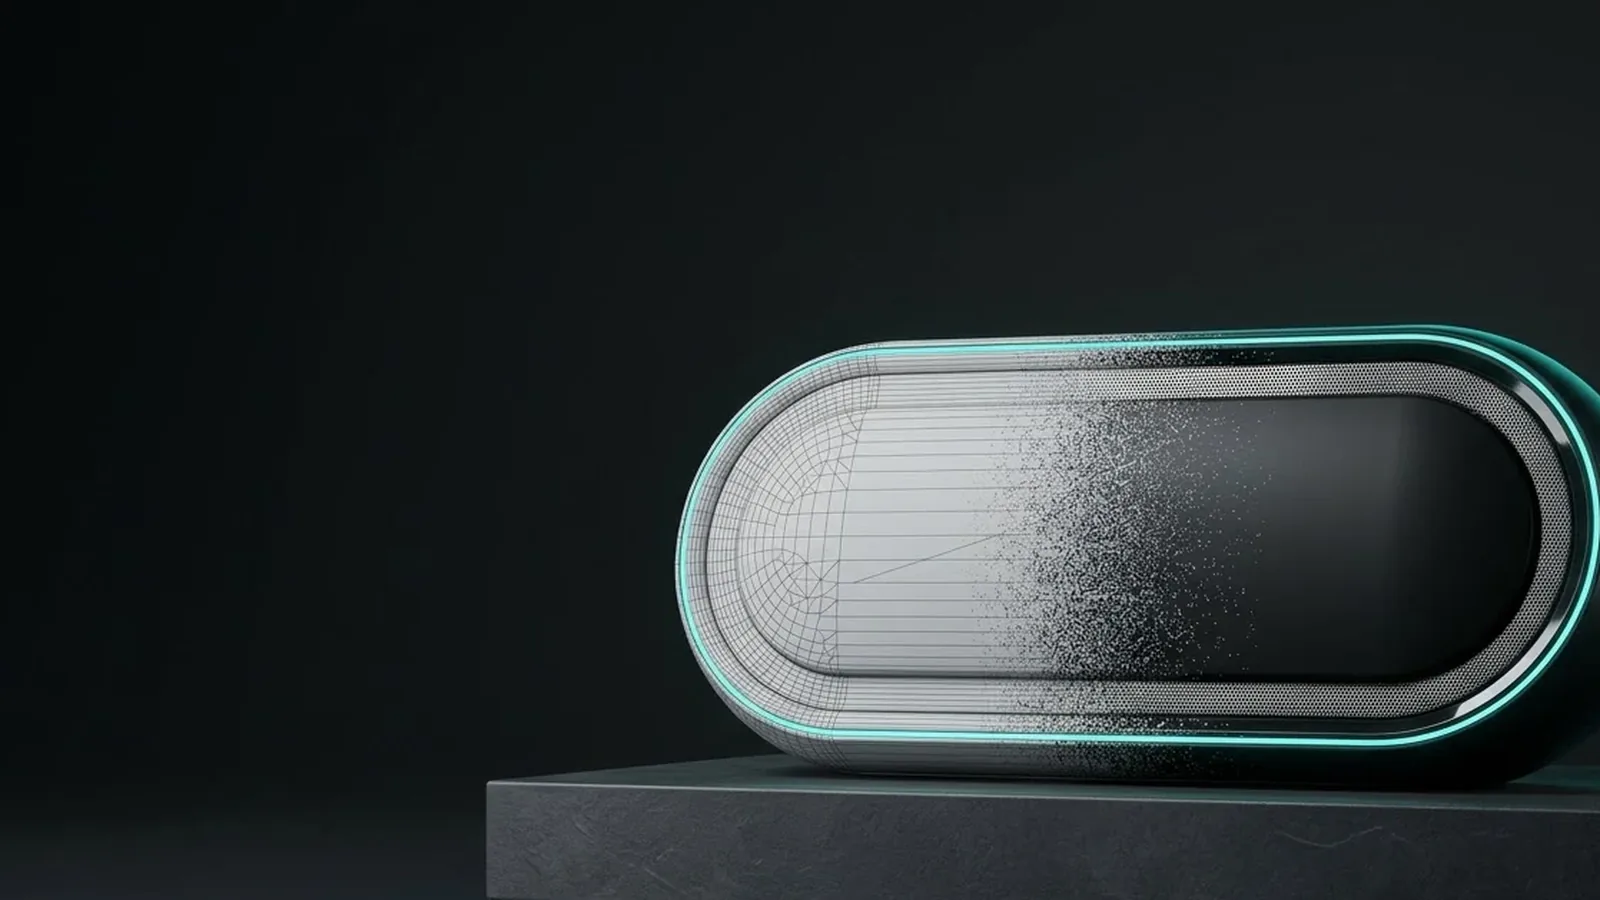
Think of a render as a photograph taken inside software. Instead of a real object on a table, there is a 3D model. Instead of studio lights, there are virtual lights. Instead of a camera, there is a virtual camera with a lens, a focal length and a depth of field. The software calculates how light bounces off every surface and produces an image.
The model is the valuable part. Once it exists, it can produce white-background packshots, lifestyle scenes, close-ups, exploded views and animation, all from the same file. That is why brands increasingly treat a good 3D model as a long-term asset rather than a one-off cost.
Renders are used across product pages, marketplaces, digital catalogues, ads, pitch decks and packaging, and Shopify points out they are particularly useful when products come in many variants (Shopify).
How a 3D product render is made
Most studios follow the same basic pipeline. The names vary, but the stages are consistent.
- Reference gathering. CAD or engineering files if they exist, plus photos, drawings, colour codes and ideally a physical sample.
- Modelling. Building or cleaning up the 3D geometry so it matches the real product's measurements, edges and details.
- Texturing and materials. Defining how each surface behaves: brushed metal, soft-touch plastic, glass, leather, printed labels.
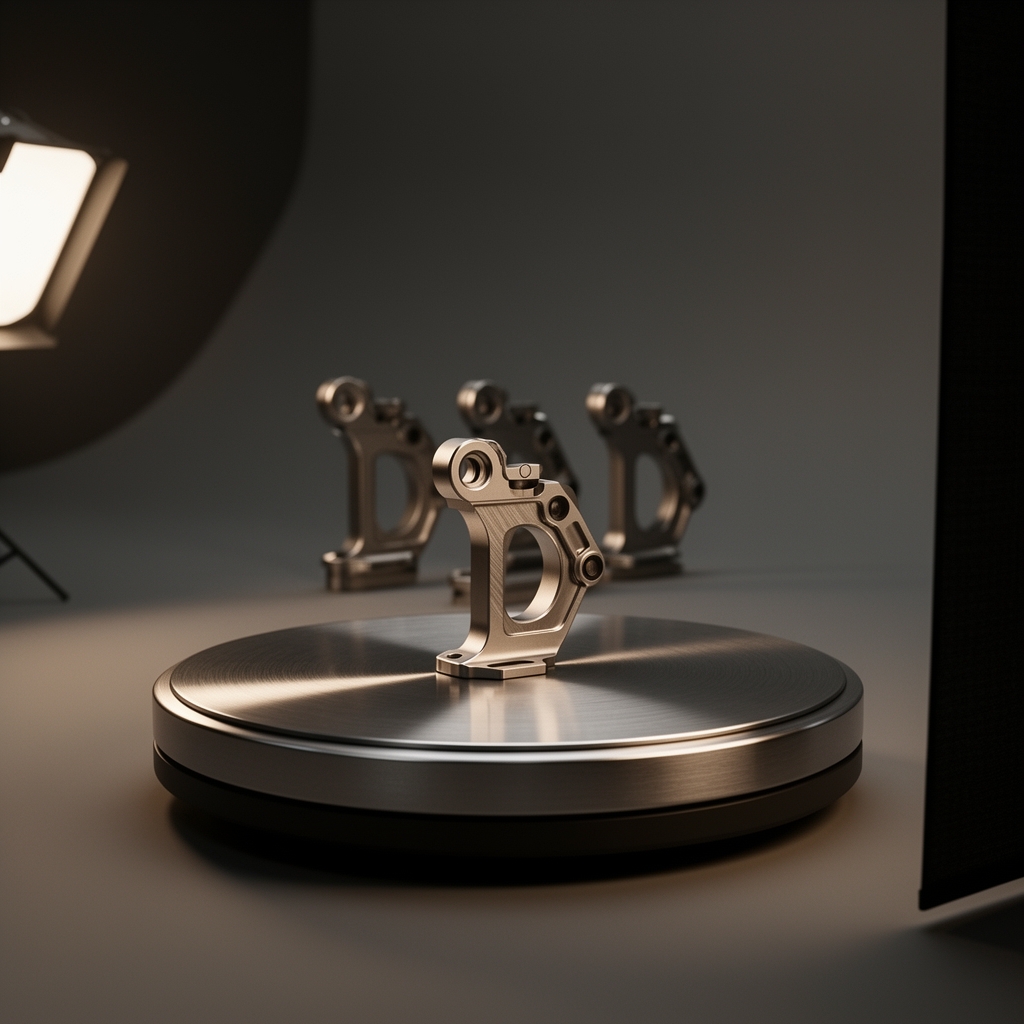
- Lighting. Setting up virtual lights to shape the product, show form and match the brand's look.
- Camera and composition. Choosing angles, lens and framing for each deliverable.
- Rendering. The computer calculates the final image. This can take minutes or hours per frame depending on complexity.
- Post-production. Colour grading, small fixes and output in the right sizes and formats.
The early stages decide the quality. A strong model with weak materials looks like plastic. Good materials with flat lighting look like a catalogue from twenty years ago. Reviewing a grey "clay" version before materials are added is a cheap way to catch shape errors early.
Types of 3D product render
| Type | What it shows | Typical use |
|---|---|---|
| Packshot | Product on a plain background | Product pages, marketplaces |
| Lifestyle or in-context | Product in a styled scene | Ads, social, websites |
| Detail close-up | Textures, buttons, ports, stitching | Feature callouts |
| Exploded view | Parts separated in space | Technical stories, B2B sales |
| Cutaway | Inside of the product | Engineering and innovation messaging |
| 360 spin or animation | Product moving or rotating | Launch films, product pages |
When you need a 3D product render
A render is not always the right tool, but there are clear situations where it beats photography.
The product does not exist yet
Launch marketing often starts months before manufacturing. Renders built from engineering files let you open pre-orders, pitch retailers and run crowdfunding campaigns with accurate visuals while the factory is still tooling up.
You sell many variants
If a product comes in eight colours and three finishes, photographing every combination is slow and expensive. With a 3D model, each variant is a material change and a new render.
You need consistency across a range
Renders use the same lights, camera and background every time. That makes a catalogue of hundreds of products look uniform, which is hard to achieve across many photo shoots.
You need to show what a camera cannot
Internal parts, how layers fit together, airflow, liquid inside a sealed container: these are natural for CGI and very hard to photograph.
You will need animation later
The model used for stills can also drive a 3D product animation. Building it once for both saves a large part of the cost of the second project.
When a photograph might be better
Be honest about where renders struggle. Food, knitwear, fresh flowers, hair and skin are hard to make convincing and often cost more to model than to shoot. If you need real people using the product, photography or a composite is usually the better choice. And if you have one product, one colour and a sample on your desk, a single photo shoot is often quicker.
What a 3D product render costs
Prices vary widely. Published ranges for individual renders run from roughly $100 to $1,000 per image depending on complexity and quality, according to several studio and marketplace guides, though these are estimates rather than standard rates. What moves the price most:
- Source files. Clean CAD files save modelling time. Working only from photos takes longer.
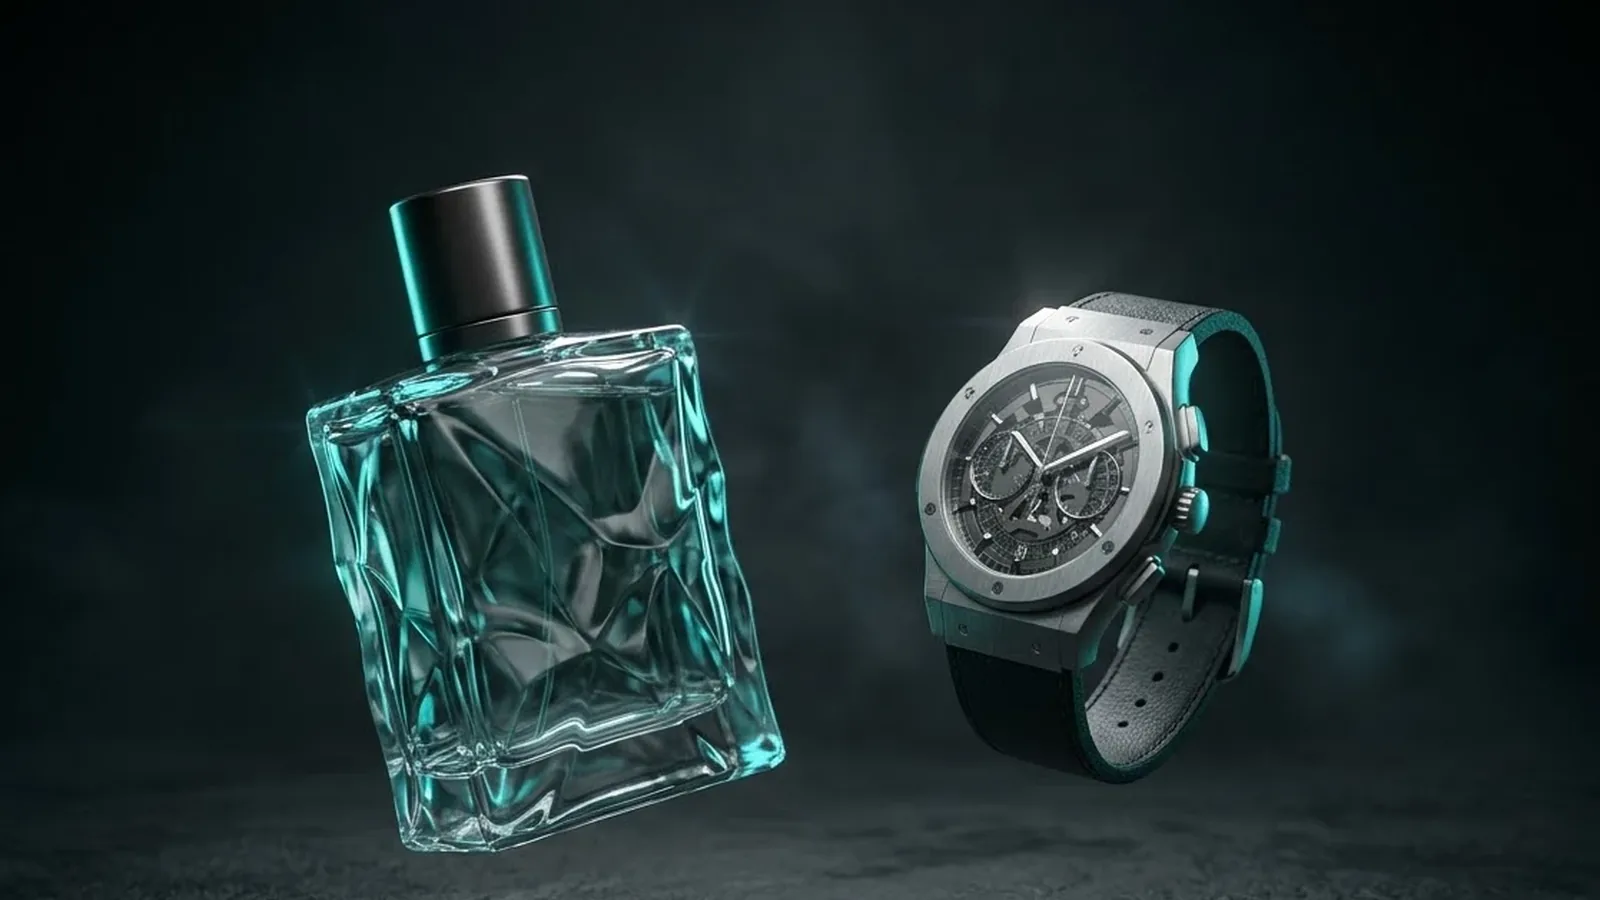
- Complexity. A plain bottle is quick. A watch with a visible movement is not.
- Materials. Glass, liquids, fabrics and fine textures take extra work to look right.
- Number of outputs. The first image carries the cost of the model. Extra angles and colourways are cheaper.
- Revisions. Agree how many rounds are included before you start.
It also helps to separate one-off costs from repeat costs. Modelling and material development happen once. Lighting setups can be saved as templates and reused for every product in a range, which is why the tenth product in a catalogue usually costs far less than the first. Rendering itself is mostly computer time, so extra angles from an approved scene are relatively cheap. Changes to the model after sign-off are the expensive kind of revision, because they ripple through every image already made.
When you budget, think about the life of the model rather than a single job. A model built carefully for a launch can serve packshots, a website hero, marketplace images, a launch film and seasonal campaigns for years. A model built cheaply for one image often has to be rebuilt the moment you need a close-up or an animation, because the shortcuts that were invisible at one size show up at another.
Always compare quotes on the same deliverables list, and ask whether you will receive the 3D model files so you can reuse them later.
How to brief a 3D product render
A clear brief saves at least one round of revisions. Include:
- CAD files, technical drawings or measurements.
- A physical sample, or high-quality photos from several angles.
- Exact colour references (Pantone, RAL or physical swatches) and finish notes.
- A list of every deliverable: angles, crops, aspect ratios, file formats and sizes.
- Visual references for lighting and mood.
- Where the images will be used, so the studio can plan resolution and framing.
Conclusion
A 3D product render is a photo-quality image made from a digital model, and its real value is the model behind it. It suits brands with products still in development, ranges with many variants, catalogues that need consistency, and stories about how a product works. It is less suited to food, fabrics that need to feel handmade, and anything centred on real people. If you plan your model once and use it for stills, variants and animation, renders usually pay back quickly.
If you have a product that needs visuals before or after launch, see how we approach 3D product animation or tell us about the project.